Budget-Friendly DIY Gift Ideas for Dad
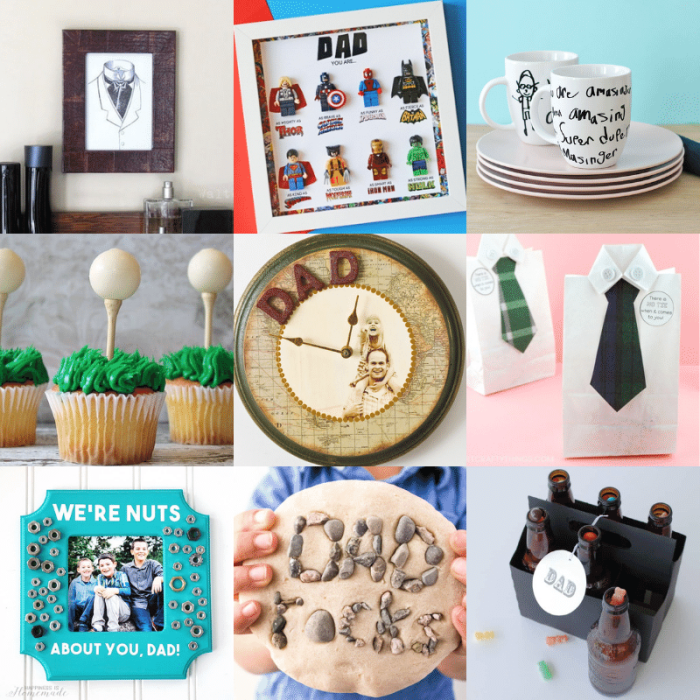
Diy gift for dad – This section explores three distinct DIY gift options perfect for showing Dad your appreciation without breaking the bank. Each project prioritizes affordability, ease of creation, and the enduring sentimental value inherent in handcrafted gifts. These projects are designed to be achievable even for those with limited crafting experience.
DIY Photo Frame with Personalized Message
Creating a personalized photo frame is a simple yet impactful way to showcase cherished memories. This project combines affordability with the emotional resonance of a heartfelt message.
Materials List: A plain wooden frame (under $10), sandpaper, acrylic paint (or wood stain), paintbrushes, Mod Podge (or similar decoupage medium), scrapbook paper or patterned fabric, photos, and a permanent marker.
Step-by-Step Instructions:
- Sand the wooden frame to create a smooth surface.
- Paint or stain the frame your desired color. Allow it to dry completely.
- Cut scrapbook paper or fabric to fit the frame’s interior. Apply Mod Podge to both the frame and the paper/fabric, then carefully adhere the paper/fabric to the inside of the frame.
- Insert your chosen photos.
- Write a heartfelt message on the frame’s exterior using a permanent marker.
Upcycled Jar Candle
Transforming an ordinary jar into a unique candle is an environmentally friendly and cost-effective gift. This project minimizes waste while offering a personalized and aromatic present.
Materials List: A clean, empty jar (from previous food items), soy wax flakes or beeswax pastilles (around $5), candle wicks with metal bases (around $3), essential oils (optional, around $5), a double boiler or heat-safe bowl and pot, a thermometer (optional).
Step-by-Step Instructions:
- Clean and dry the jar thoroughly.
- Securely attach the wick to the bottom of the jar using glue dots or a small amount of hot glue.
- Melt the wax flakes or pastilles in a double boiler or heat-safe bowl over low heat. Monitor the temperature if using a thermometer (ideally around 180-185°F for soy wax).
- Add essential oils (if desired) and stir gently.
- Carefully pour the melted wax into the jar, ensuring the wick remains centered.
- Allow the wax to cool and harden completely before lighting.
Personalized Coasters
Creating personalized coasters offers a practical and visually appealing gift. This project allows for creative expression and customization, reflecting Dad’s unique interests.
Materials List: Tiles (cork, ceramic, or slate – around $5 for a set of four), Mod Podge, scrapbook paper or fabric, scissors, sealant (optional).
Step-by-Step Instructions:
- Clean the tiles thoroughly.
- Cut scrapbook paper or fabric into squares slightly larger than the tiles.
- Apply Mod Podge to the tiles and adhere the paper/fabric.
- Smooth out any air bubbles and allow to dry completely.
- Apply a sealant (optional) for added durability and water resistance.
Comparison of DIY Gift Ideas
| Gift | Estimated Cost | Time Investment | Perceived Sentimental Value |
|---|---|---|---|
| Photo Frame | $10 – $15 | 1-2 hours | High |
| Upcycled Jar Candle | $8 – $15 | 1.5-2.5 hours | Medium-High |
| Personalized Coasters | $5 – $10 | 30 minutes – 1 hour | Medium |
Potential Challenges and Solutions
Creating DIY gifts can present certain challenges. For the photo frame, uneven paint application can be addressed by using multiple thin coats and allowing sufficient drying time between coats. For the candle, improper wick placement can lead to uneven burning; ensuring the wick is centered and the correct length is crucial. With the coasters, air bubbles trapped under the paper can be avoided by carefully smoothing the paper and applying gentle pressure.
Using a sealant on the coasters adds durability and prevents water damage.
DIY Gifts Based on Dad’s Hobbies: Diy Gift For Dad
Crafting a personalized gift that speaks to your father’s passions elevates a simple present into a heartfelt expression of love and understanding. A DIY gift tailored to his hobbies demonstrates thoughtfulness and shows you appreciate his interests, creating a lasting memory far beyond the material value of the gift itself. This section explores several hobby-centric DIY gift ideas, providing detailed instructions and highlighting the emotional resonance of such presents.
DIY Golfing Gifts: Personalized Golf Ball Marker
A personalized golf ball marker is a practical and sentimental gift for the golfing dad. This small but meaningful item will accompany him on every round, serving as a constant reminder of your thoughtfulness.
Materials: A small, flat piece of durable material (e.g., metal, resin, or even a polished stone), epoxy resin (if using non-metal material), permanent marker or paint pen, a small magnet (optional, for attaching to the golf bag), protective sealant (optional).
Instructions: Clean the chosen material thoroughly. If using resin, carefully pour and cure it into a mold. Once dry, use a permanent marker or paint pen to inscribe a personal message, his initials, or a small, relevant image (like a golf club or a golf ball). If desired, attach a small magnet to the back for easy attachment to his golf bag.
Finally, apply a protective sealant to ensure longevity.
Visual Description: Imagine a small, circular metal disc, about the size of a quarter, with his initials elegantly etched in a classic serif font. The metallic sheen reflects the sunlight on the green, a subtle yet stylish accessory.
DIY Fishing Gifts: Custom Tackle Box Organizer
A customized tackle box organizer ensures that Dad’s fishing gear is always neatly arranged and easily accessible. This practical gift enhances his fishing experience while showing your care.
Materials: A sturdy plastic tackle box, foam sheets (various thicknesses), scissors or craft knife, double-sided tape or adhesive, labels (optional).
So, you’re crafting a heartfelt DIY gift for Dad this year? That’s wonderful! The personal touch is always appreciated. Thinking about the level of care involved, it reminds me of the beautiful, thoughtful DIY gifts you can create for Grandma, too – check out these amazing ideas for inspiration on a site dedicated to diy gifts for grandma for christmas.
The same principles of creativity and love apply, whether you’re making something for your father or your grandmother. Ultimately, the most important element in any DIY gift is the effort and emotion you put into it.
Instructions: Measure the compartments of the tackle box. Cut the foam sheets to fit snugly inside each compartment. Arrange the foam to create customized sections for different types of lures, hooks, weights, etc. Use double-sided tape or adhesive to secure the foam in place. For added organization, create labels for each section indicating the type of fishing gear stored within.
Visual Description: Picture a neatly organized tackle box with compartments filled with custom-cut foam inserts. Each compartment is dedicated to a specific type of fishing gear, creating a clean and efficient system for easy access during fishing trips. The various colors and textures of the foam create a visually appealing contrast against the plastic of the box.
DIY Gardening Gifts: Personalized Seed Starter Kit
A personalized seed starter kit allows Dad to cultivate his favorite plants from seed, offering a rewarding gardening experience. This thoughtful gift combines practicality with the joy of watching something grow.
Materials: Small terracotta pots, seed starting mix, seed packets of Dad’s favorite flowers or vegetables, small plant markers (e.g., popsicle sticks), waterproof paint pen, decorative ribbon or twine (optional).
Instructions: Fill the terracotta pots with seed starting mix. Plant the seeds according to the instructions on the seed packets. Use a waterproof paint pen to personalize the plant markers with the names of the plants or fun messages. Gently water the seeds and place the pots in a sunny location. Decorate the pots with ribbon or twine for an added touch.
Visual Description: Envision a collection of small terracotta pots, each neatly labeled with a hand-painted plant marker. Tiny seedlings emerge from the soil, promising a bountiful harvest or a vibrant display of colorful flowers. The overall aesthetic is simple, rustic, and charming, reflecting the beauty of nature.
Gifting something related to a person’s hobby carries significant emotional weight. It transcends the mere act of giving a present; it’s a gesture that demonstrates understanding, appreciation, and a genuine interest in the recipient’s passions. It shows you’ve taken the time to consider their interests, creating a connection that goes beyond the material value of the gift. The emotional impact lies in the thoughtfulness and personalization, forging a stronger bond through shared interests and creating a cherished memory.
DIY Gifts Showcasing Dad’s Photos or Memories
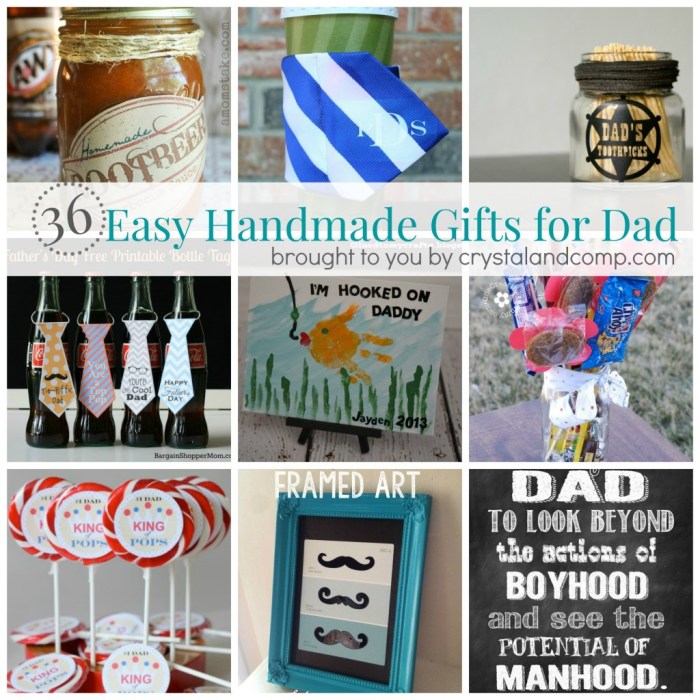
Creating a personalized gift that showcases cherished family memories is a thoughtful way to express your love and appreciation for your father. These DIY projects offer a unique blend of sentimentality and practicality, transforming treasured photos into lasting keepsakes he’ll cherish for years to come. The level of effort and cost varies depending on the chosen method, allowing for flexibility based on your available time and resources.
Personalized Photo Album, Diy gift for dad
A classic photo album allows for a curated collection of memories, arranged chronologically or thematically. This offers a flexible and highly personal approach to showcasing Dad’s favorite photos.
- Gather Materials: You’ll need a photo album (consider size and binding style based on the number of photos), acid-free photo paper (to prevent photo degradation), adhesive photo corners or glue sticks (acid-free is preferable), and any decorative embellishments like stickers, washi tape, or handwritten notes.
- Photo Selection and Organization: Choose photos that represent significant memories or moments Dad particularly enjoys. Organize them chronologically, thematically (e.g., family vacations, holidays), or by a specific event. Consider adding captions or short descriptions to each photo for added context and sentimentality.
- Album Assembly: Carefully adhere the photos to the album pages using photo corners or glue. Ensure the photos are securely fastened and that the adhesive doesn’t damage the prints. Incorporate any decorative elements to personalize the album further.
- Finishing Touches: Once all the photos are in place, review the album for any gaps or inconsistencies. A personalized cover page or a handwritten dedication adds a final, heartfelt touch.
Custom-Designed Photo Mug
A personalized mug provides a practical and daily reminder of cherished memories. This method is relatively quick and offers a unique way to incorporate photos into everyday life.
- Gather Materials: You’ll need a plain white mug, a heat-transfer printer or iron-on transfer paper (ensure compatibility with mug material), the chosen photograph(s) in high-resolution digital format, and a heat-resistant surface for the mug.
- Image Preparation: Use photo editing software (like Canva or Photoshop) to resize and adjust the photo to fit the mug’s surface. Ensure the image is high-resolution for optimal quality. If using iron-on transfer paper, follow the manufacturer’s instructions for image preparation and printing.
- Mug Printing or Application: If using a heat-transfer printer, follow the manufacturer’s instructions carefully. For iron-on transfers, carefully place the printed image onto the mug, and use a heat-resistant surface to press the iron according to the manufacturer’s instructions. Ensure even heat distribution for a clear and crisp result.
- Curing and Finishing: Allow the mug to cool completely before handling. If using iron-on transfers, check for any peeling or imperfections. A protective layer of clear sealant can be applied for increased durability.
Framed Photo Collage
A framed photo collage provides a visually appealing display of multiple memories, creating a stunning piece of art for Dad’s home or office. This option offers a more visually complex and impactful presentation.
- Gather Materials: You will need a selection of photos (consider printing them in various sizes for visual interest), a frame (consider size and style to suit the photos and Dad’s taste), adhesive (double-sided tape or photo mounting squares are recommended), and possibly a mat board for a more professional look.
- Photo Selection and Arrangement: Choose a range of photos that represent diverse memories and arrange them on a flat surface before adhering them to the mat board (if using). Experiment with different layouts to achieve a balanced and aesthetically pleasing composition.
- Adhesive Application and Mounting: Carefully apply the adhesive to the backs of the photos and mount them onto the mat board or directly into the frame. Ensure the photos are securely adhered and aligned correctly.
- Framing and Finishing: Once the collage is assembled, carefully place it into the frame and secure the back. A protective layer of glass or acrylic can be added for protection. Consider adding a personalized label or inscription to further personalize the piece.
Practical DIY Gifts for Dad
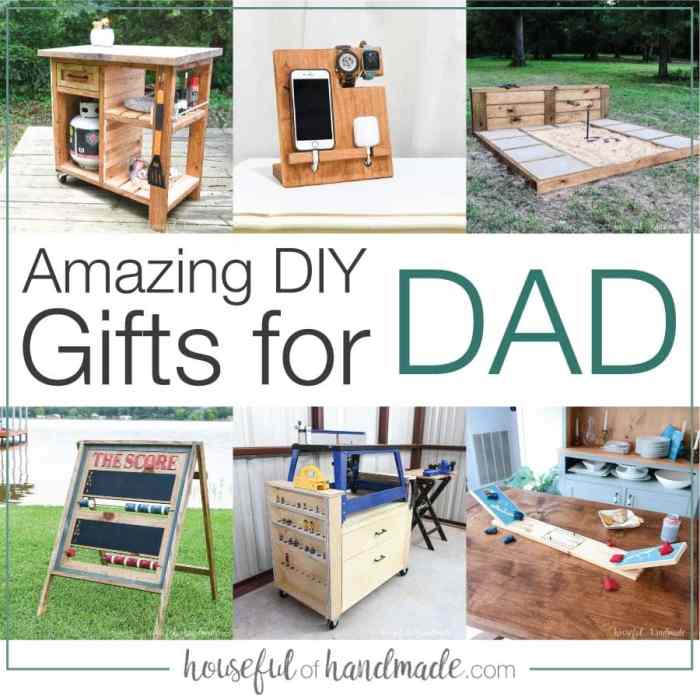
Dads often appreciate gifts that are both thoughtful and useful. These practical DIY projects demonstrate care while addressing common household needs or enhancing Dad’s daily routines. The focus is on ease of creation, using readily available materials, and achieving a high perceived value despite a low cost.
Tool Organizer from Reclaimed Wood
Creating a custom tool organizer is a practical gift that addresses the common problem of cluttered workshops or garages. This project repurposes old wood, reducing waste and adding a rustic charm.The design involves constructing a wall-mounted unit with several compartments of varying sizes. Imagine a simple rectangular box, approximately 24 inches wide, 12 inches high, and 6 inches deep, made from reclaimed wood planks.
The front is left open, and internal dividers create separate compartments for different tools. The back features pre-drilled holes for easy mounting to a wall stud. Each compartment can be sized to accommodate specific tools, from screwdrivers and hammers to smaller items like nails and screws. A simple coat of varnish or stain protects the wood and enhances its appearance.
The construction involves cutting the wood planks to size, assembling the box using wood glue and screws, and adding the internal dividers using the same method. Pre-drilling holes prevents the wood from splitting.
Customized Phone Case from Epoxy Resin
A customized phone case offers a unique and personalized touch, protecting Dad’s phone while showcasing a personal design. This project utilizes epoxy resin, allowing for creative embedding of small objects or creating unique color combinations.The design starts with a clear, pre-made phone case that fits Dad’s phone model. The customization comes from pouring colored epoxy resin into the case, potentially embedding small, dried flowers, metallic flakes, or other small decorative elements.
The process involves carefully mixing the epoxy resin according to the manufacturer’s instructions, pouring it into the phone case, and allowing it to cure completely. The cured resin creates a durable, protective layer with a visually appealing, personalized design. The embedded elements can reflect Dad’s hobbies or interests, further enhancing the personal touch. For example, embedding small fishing lures would be ideal for a fishing enthusiast.
Properly following the epoxy resin’s curing time is crucial for a successful outcome.
Multi-Purpose Repair Kit in a Personalized Tin
A compact repair kit is a practical gift that can be used for quick fixes around the house or while traveling. This project involves gathering common repair items and organizing them neatly within a customized tin.The design is centered around a sturdy, preferably waterproof, metal tin. The size should be compact enough for portability but large enough to hold a variety of useful items.
Inside, carefully organize items like duct tape (cut into manageable strips), various screws and nuts, a small screwdriver set, a small roll of wire, and some superglue. The tin itself can be personalized with a label featuring Dad’s name or a relevant design. The rationale behind this choice is that minor repairs often require a collection of small items, and having them conveniently organized in one place saves time and frustration.
This repair kit is particularly beneficial for someone who enjoys DIY projects or frequently needs to perform minor repairs. The selection of items can be tailored to Dad’s specific needs and preferences.
Questions and Answers
How long should I expect a DIY project to take?
The time commitment varies greatly depending on the project’s complexity. Simple projects might take a few hours, while more intricate ones could take a day or more.
What if I don’t have crafting experience?
Many of the projects suggested are beginner-friendly. Start with simpler projects to build confidence and gradually tackle more challenging ones.
Where can I find the necessary materials?
Most materials can be found at craft stores, home improvement stores, or even online retailers. Check your local stores first for convenience and potential savings.
Can I adapt the projects to suit my dad’s specific interests?
Absolutely! The ideas presented are starting points. Feel free to customize them to reflect your dad’s unique personality and hobbies for a truly personalized touch.


